It’s late spring, almost summer. I always feel new energy when the seasons change. And this year seems to be an emergence from the awful pandemic years.
My predominant thinking – I want color and vibrance in my world. Recently I went into my closet and removed all black-predominant dresses and blouses. Of course I left one, a Highlands wrap dress, on reserve for, can I say it, a funeral…
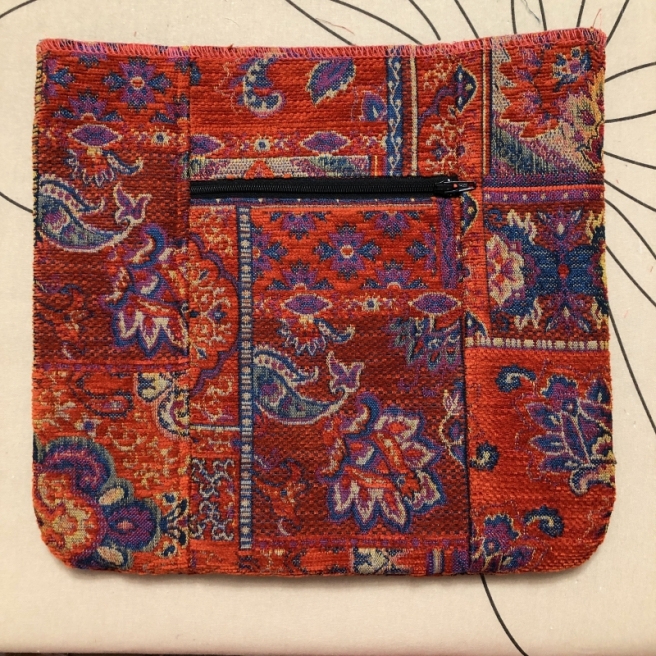
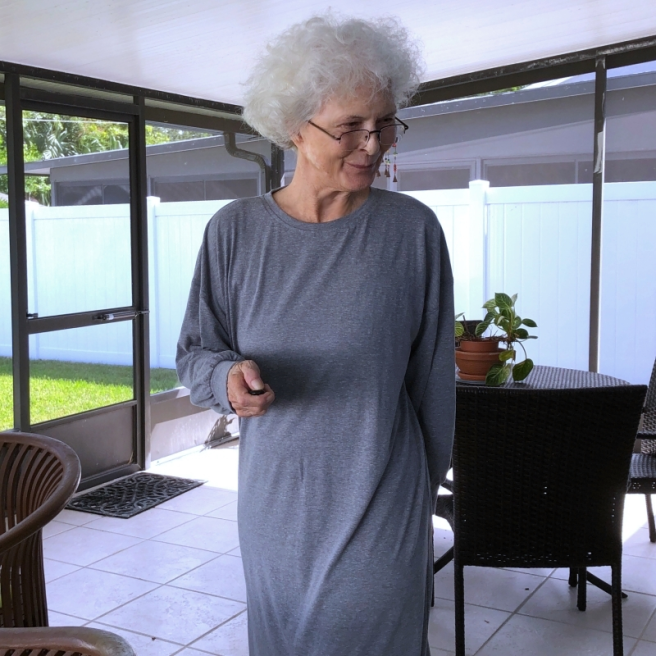
Recent makes…


A couple weeks ago I went into Nordstrum Rack looking for a bra. It’s only ten minutes from my house, but I don’t often shop RTW. It was a successful shopping foray, but that’s for later. What impressed me on entering was that everything was black or grey. I swear, if I see another black legging/tee shirt combo, no matter the body shape, I’ll lose my cool 🙂 Of course I will see this again – a couple of generations of women behind me live in them. How depressing, and, IMHO, how unattractive. I used to lament the tight muffin tops of women when I lived in Miami. Current trends eclipse the latter … and make me long for that time!
I’m curious about men’s reaction to the trend. Lately, I think, men have surfaced as the most fashion-centric demographic. Well, that’s OK and good on them. I’m a fan.
Quite a ramble, right! Enough said, I love color and the attraction of interesting designs in both patterns and fabric. Glad I can sew! Thoughts?
Ciao, Coco